前期准备
引入thymeleaf依赖
xml<dependency> <groupId>org.springframework.boot</groupId> <artifactId>spring-boot-starter-thymeleaf</artifactId> </dependency>配置文件添加配置信息
yamlspring: thymeleaf: # 将所有的html文件都放在了resources/templates文件夹下 prefix: classpath:/templates/ suffix: .html mode: HTML # 关闭Thymeleaf模板引擎的默认缓存 cache: false encoding: UTF-8 enabled: true servlet: content-type: text/html新增index.html页面(位于resources/templates/下)
html<!DOCTYPE html> <html lang="en" xmlns:th="http://www.thymeleaf.org"> <head> <meta charset="UTF-8"> <title></title> </head> <body> <div th:text="${data}"></div> </body> </html>定义跳转页面的路由(切记使用@Controller,而不是@RestContorller,RestContorller会将返回值返回给调用方,而不是进行路由的跳转,如果在路由controller里定义的方法确实需要返回值,方法加上@ResponseBody注解)
javaimport org.springframework.stereotype.Controller; import org.springframework.ui.Model; import org.springframework.web.bind.annotation.RequestMapping; @Controller public class RouteController { @RequestMapping("/index") public String routeToIndexPage(Model model){ model.addAttribute("data","首页展示的数据"); return "index"; } }
实现修改html内容页面实时刷新
配置文件中关闭Thymeleaf模板引擎的默认缓存(上述配置文件里已经设置,这里不赘述)
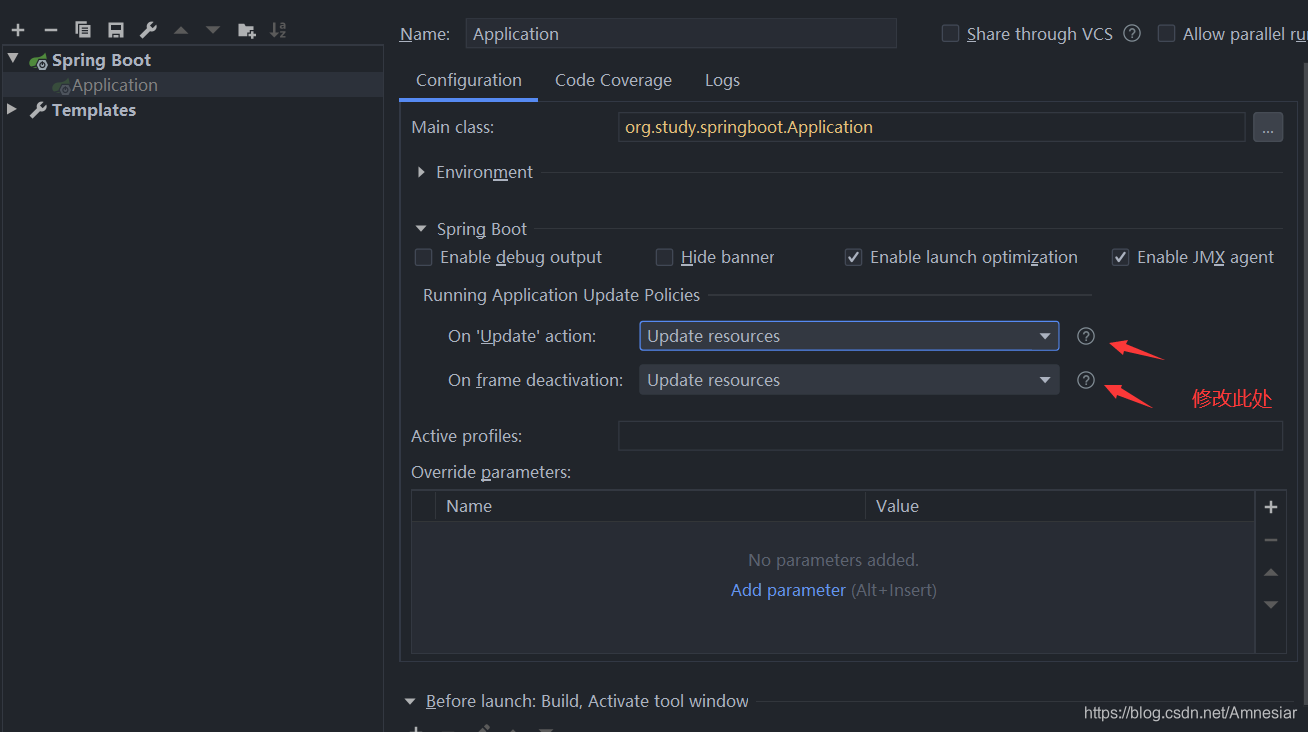
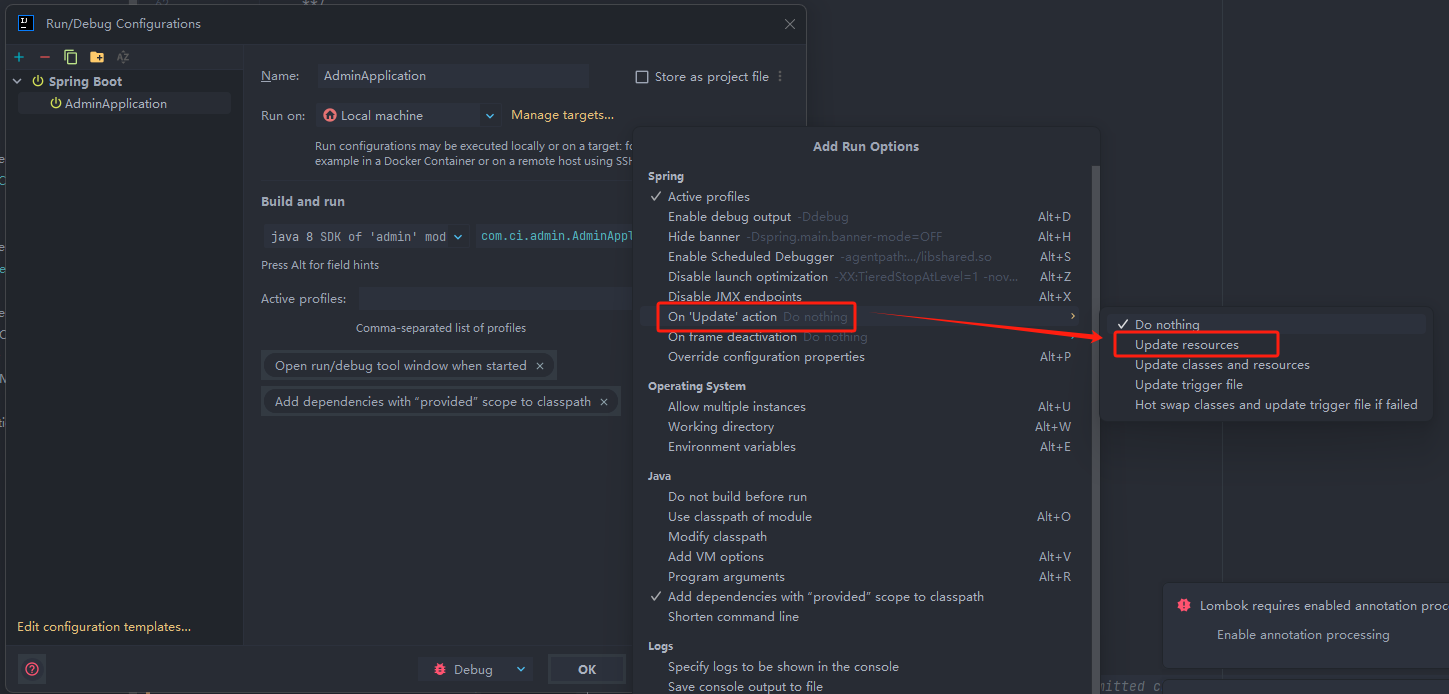
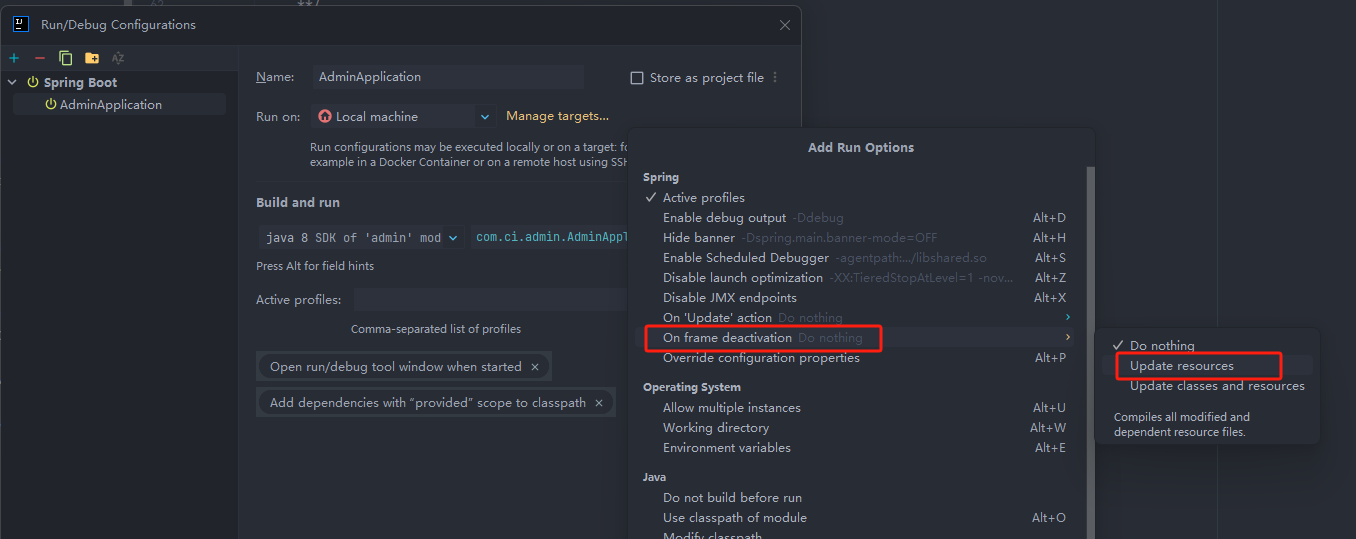
propertiesspring.thymeleaf.cache=false修改运行配置
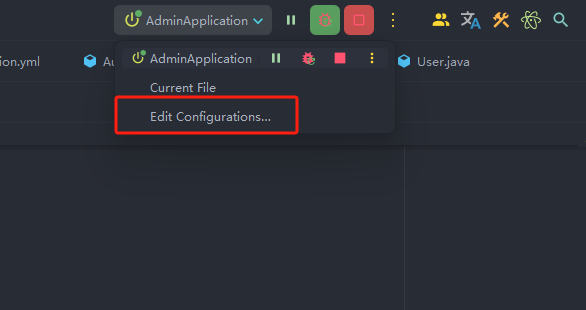
我使用的idea的版本是2024.3

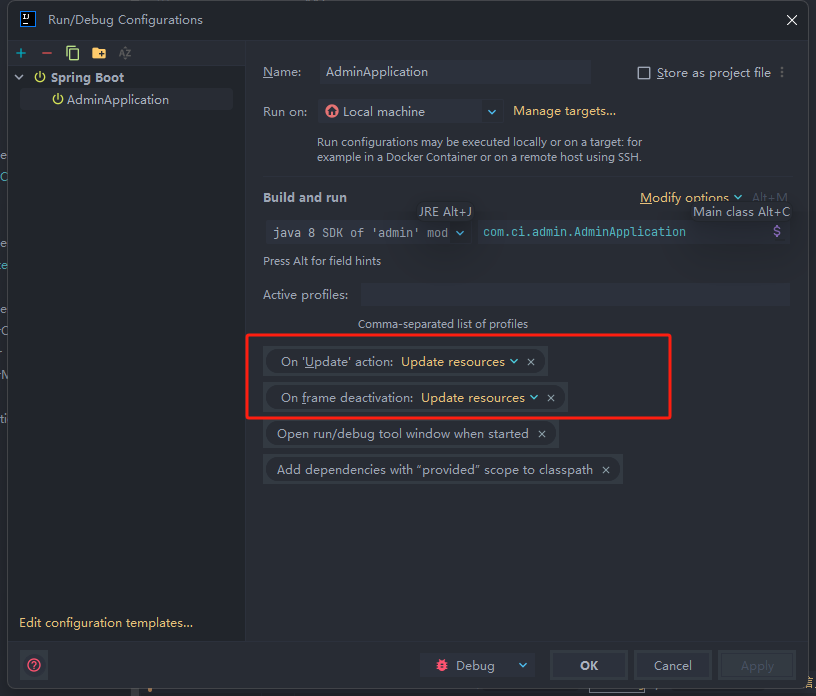
先前idea版本